
Joomla guide v0.3.0
Multi-Domain serves multiple domains from a single Joomla installation: per-domain content, theming, user roles and SEO, without touching any core table.
Overview
Multi-Domain serves multiple domains from a single Joomla installation: per-domain content, theming, user roles and SEO, without touching any core table.
Requirements
- Joomla 4.4, 5 or 6 depending on the package version.
- PHP 8.1 or later is recommended.
- A recent backup before installation or update.
Installation
- Download the ZIP package and do not extract it.
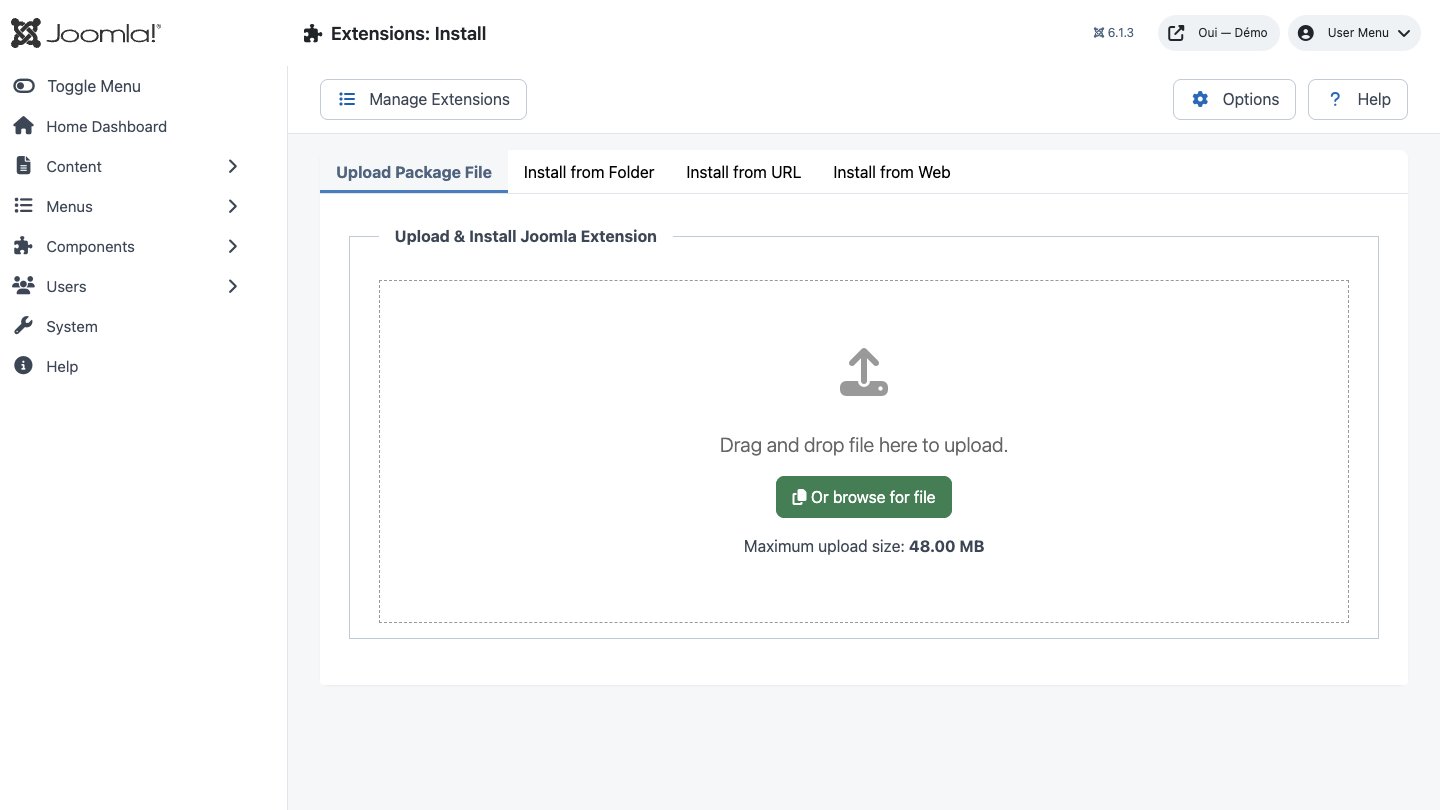
- In Joomla, open System → Install → Extensions.
- Drop the ZIP into the installation area and wait for the confirmation message.
- Open the component from Components. If the package includes a plugin, check its status under System → Manage → Plugins.
- Review component permissions before opening it to the team.
Initial configuration
- Open the extension dashboard.
- Open Options and review global settings.
- Grant Create, Edit, Delete and Configure permissions to the appropriate groups.
- Create a first test item and check the frontend when a public view is provided.
- Enable bundled plugins or scheduled tasks only when they are needed.
Features
Domain detection
The Host header is read exactly once per request, at onAfterInitialise, normalised (lower-cased, port stripped) and matched against your published domains. The resolved record is published to the application registry, and every other class reads it from there — never from the HTTP header again.
Content mapping
A mapping table pins articles, categories, menu items and modules to a specific domain — or marks them shared. Three assignment modes: shared everywhere, selected domains, or removed from the map. Articles gain a Domains tab in the editor and a batch action in the article list.
Per-domain user roles
The same account can be an editor on one brand and an ordinary customer on another. Groups granted for the active domain are added on top of the user's native Joomla groups at authorisation time. One credential, one login form, different effective permissions per brand.
Per-domain theming
Two modes, and you can use both. Mode A: four CSS custom properties (--md-primary, --md-secondary, --md-accent, --md-logo) injected into the , plus logo and favicon. Mode B: each domain points at an existing template style.
SEO that belongs to each domain
Every page emits its own rel="canonical" pointing at the current host. Articles visible on several brands emit their sibling hreflang links. /sitemap.xml and /robots.txt are generated on the fly, filtered through the content map.
Cache isolated per domain
Joomla's page cache is keyed on the URL, not the host: two brands sharing a path would serve each other's HTML. The domain id prefixes the page-cache key and every module's cacheid, and Vary: Host is appended to every response the plugin controls.
Install the package
One ZIP, installed in the order the manifest fixes: component, then system plugin, then template, then module. Three tables are created; not one Joomla core table is altered.
Declare your domains
For each brand: canonical hostname, aliases, language, template style, home page, logo, three colours, favicon and a dedicated robots.txt. Standard Joomla field types throughout.
First steps
- Start with a simple use case and non-sensitive data.
- Validate the result with the team that will use the extension.
- Record site-specific choices such as roles, automations, templates and integrations.
- Roll out gradually, then monitor logs and user feedback.
Screenshots
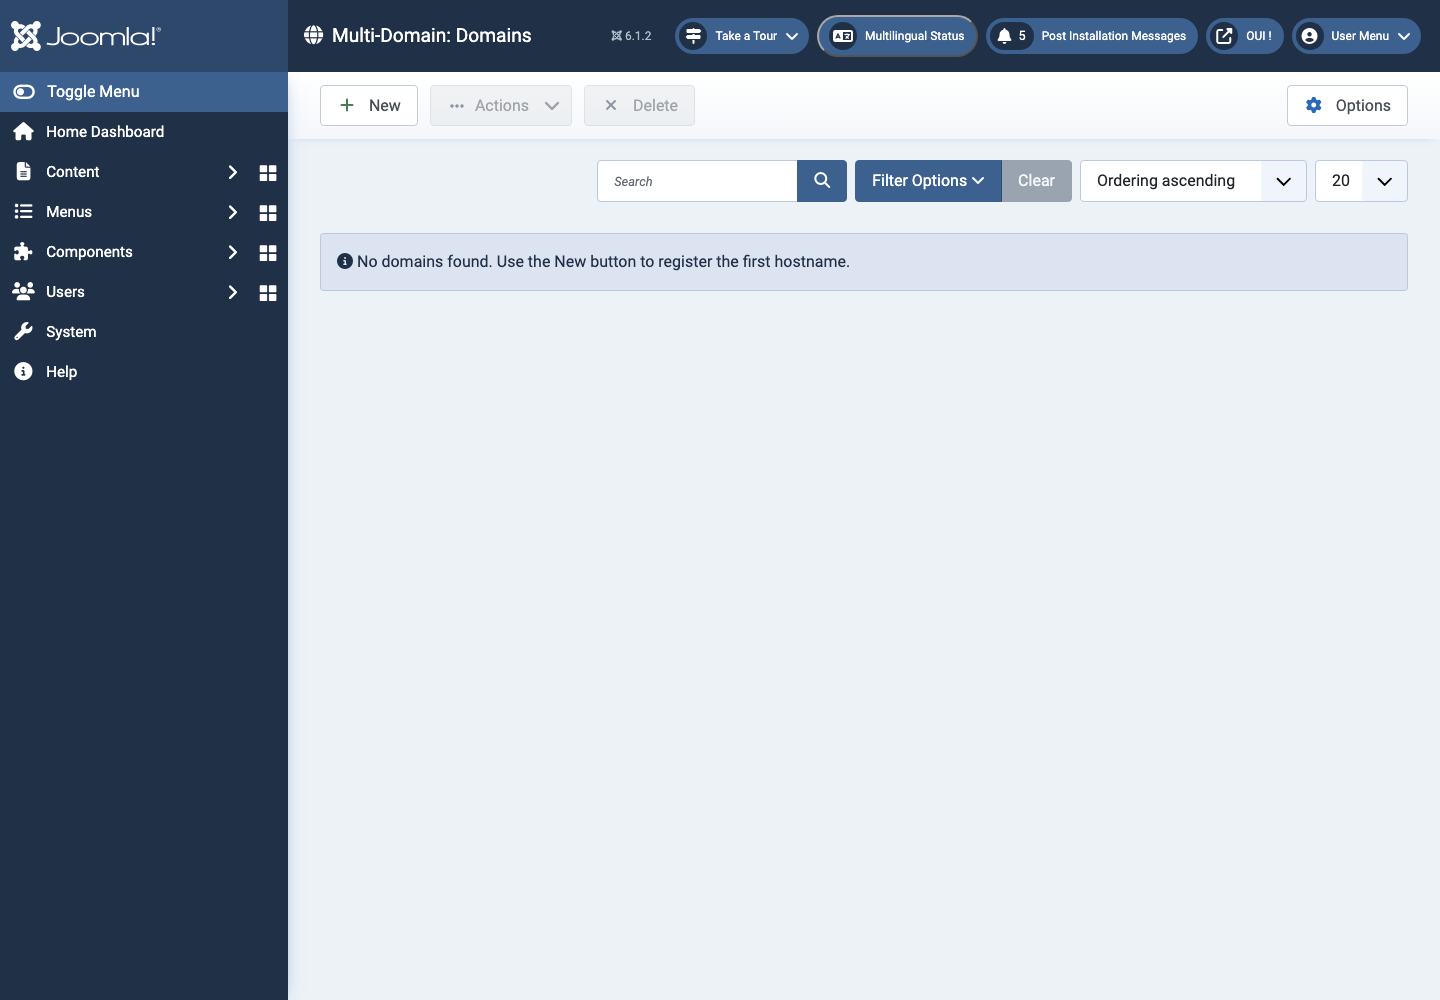
Troubleshooting
- The extension does not appear after installation
- Check the installer message and the component/plugin status, then clear Joomla or WordPress caches.
- An action is denied
- Review the user group permissions, session token and any security restrictions.
- The output does not match the site
- Test with caching disabled, inspect template overrides and look for CSS or JavaScript conflicts.
- An external integration fails
- Check the URL, credentials, quotas and logs without copying secrets into a support request.
Updating and uninstalling
Before updating, back up files and the database, read the release notes, and test on a copy of the site. Export useful data before uninstalling. Removing a package may remove several related components, modules or plugins.