
WordPress guide v0.1.23
Control who sees what in WordPress. Customise menus by role, manage permissions and track every action with audit logs. Multisite compatible.
Overview
Control who sees what in WordPress. Customise menus by role, manage permissions and track every action with audit logs. Multisite compatible.
Requirements
- A maintained, up-to-date WordPress installation.
- PHP ^8.0.
- A recent backup before installation or update.
Installation
- Download the plugin ZIP file.
- In WordPress, open Plugins → Add New Plugin → Upload Plugin.
- Select the ZIP, install it, then click Activate.
- Reload the administration area and locate the new menu or settings page.
- On production sites, clear application and page caches after activation.
Initial configuration
- Open the settings page added by the plugin.
- Configure only the services and options that are actually used.
- Save, then test the behaviour with a non-administrator account.
- Check the result on desktop and mobile.
- If WooCommerce or another plugin is required, also verify its status and version.
Features
Advanced ACL
Granular access control by role, user and content. Set precise permissions on every resource of your WordPress site.
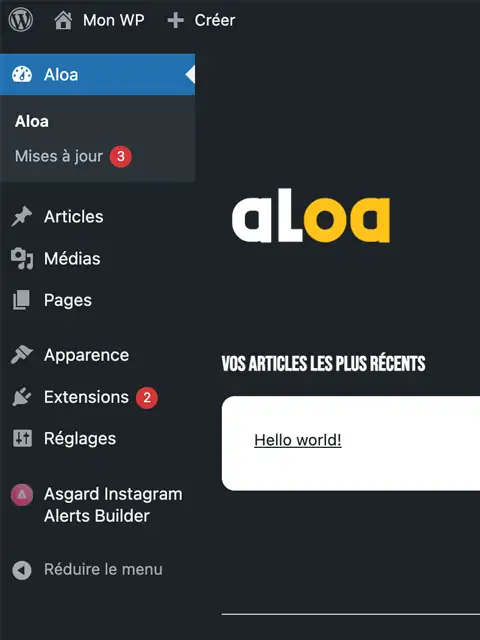
Menu customisation
Adapt the WordPress admin navigation based on user role. Hide, reorganise and customise every menu item.
Content duplication
Duplicate posts, pages and custom post types in one click. Keep all metadata, taxonomies and associated media.
Activity log
Full tracking of all user actions: logins, content changes, settings modifications. Exportable as CSV.
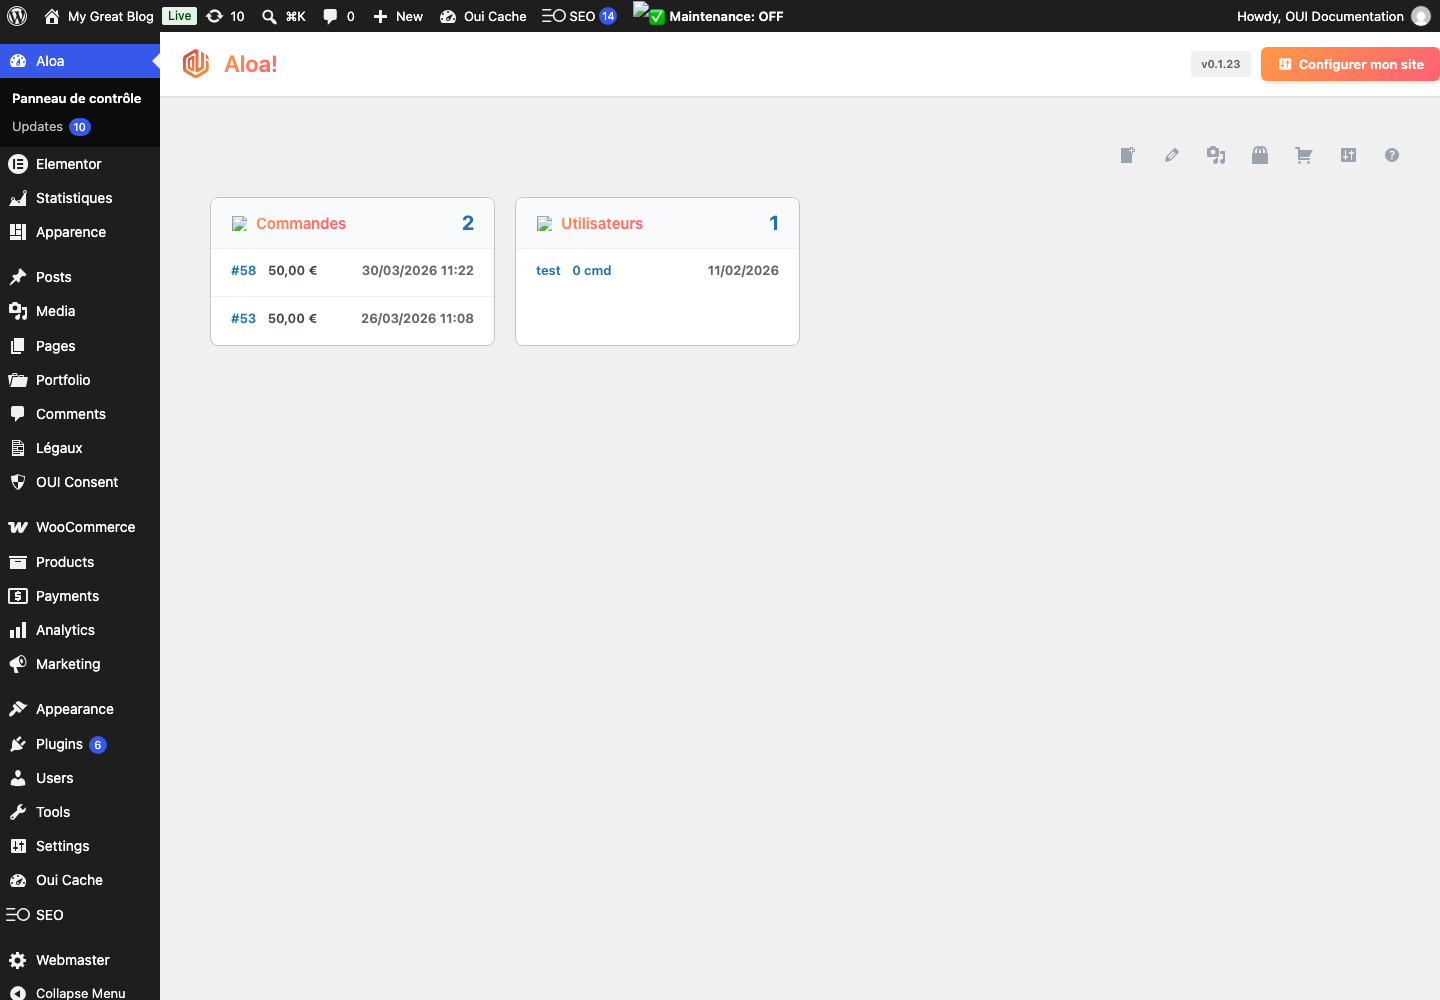
Dashboard per role
Configure a custom dashboard for each WordPress role. Each user sees only the relevant widgets and information.
Bulk operations
Apply grouped actions on users, content and settings. Save time on repetitive admin tasks.
Login security
Strengthen security with login attempt limiting, automatic logout and IP address restrictions.
User management
Advanced user management interface with filters, custom fields, bulk actions and data export.
First steps
- Start with a simple use case and non-sensitive data.
- Validate the result with the team that will use the extension.
- Record site-specific choices such as roles, automations, templates and integrations.
- Roll out gradually, then monitor logs and user feedback.
Screenshots

Troubleshooting
- The extension does not appear after installation
- Check the installer message and the component/plugin status, then clear Joomla or WordPress caches.
- An action is denied
- Review the user group permissions, session token and any security restrictions.
- The output does not match the site
- Test with caching disabled, inspect template overrides and look for CSS or JavaScript conflicts.
- An external integration fails
- Check the URL, credentials, quotas and logs without copying secrets into a support request.
Updating and uninstalling
Before updating, back up files and the database, read the release notes, and test on a copy of the site. Export useful data before uninstalling. Removing a package may remove several related components, modules or plugins.