
WordPress guide
Enhanced WordPress admin panel. ACL management, custom menus, dashboard customization, and advanced administration tools.
Overview
Enhanced WordPress admin panel. ACL management, custom menus, dashboard customization, and advanced administration tools.
Requirements
- A maintained, up-to-date WordPress installation.
- PHP 8.1 or later is recommended.
- A recent backup before installation or update.
Installation
- Download the plugin ZIP file.
- In WordPress, open Plugins → Add New Plugin → Upload Plugin.
- Select the ZIP, install it, then click Activate.
- Reload the administration area and locate the new menu or settings page.
- On production sites, clear application and page caches after activation.
Initial configuration
- Open the settings page added by the plugin.
- Configure only the services and options that are actually used.
- Save, then test the behaviour with a non-administrator account.
- Check the result on desktop and mobile.
- If WooCommerce or another plugin is required, also verify its status and version.
Features
Custom dashboard
Drag-and-drop rearrangeable widgets, quick shortcuts and a summary view of all site activity right from login.
User role views
Administrator, editor, author or contributor: each profile has an interface adapted to their exact responsibilities.
Quick actions panel
One click is enough to publish a post, moderate comments, clear the cache or trigger a backup. No more nested menus.
Real-time statistics
Active visitors, page views, popular content and traffic sources directly in the admin — without leaving WordPress.
Content overview
Track drafts, posts awaiting review, scheduled publications and recent content on a single screen.
System health monitor
PHP version, database size, disk space, plugin health: all critical indicators at a glance.
White-label customisation
Custom logo, brand colours, tailored login page: give your clients an admin experience that carries your identity.
Admin menu manager
Reorganise, rename or hide WordPress menu entries by role. Simplify the interface for each access level.
First steps
- Start with a simple use case and non-sensitive data.
- Validate the result with the team that will use the extension.
- Record site-specific choices such as roles, automations, templates and integrations.
- Roll out gradually, then monitor logs and user feedback.
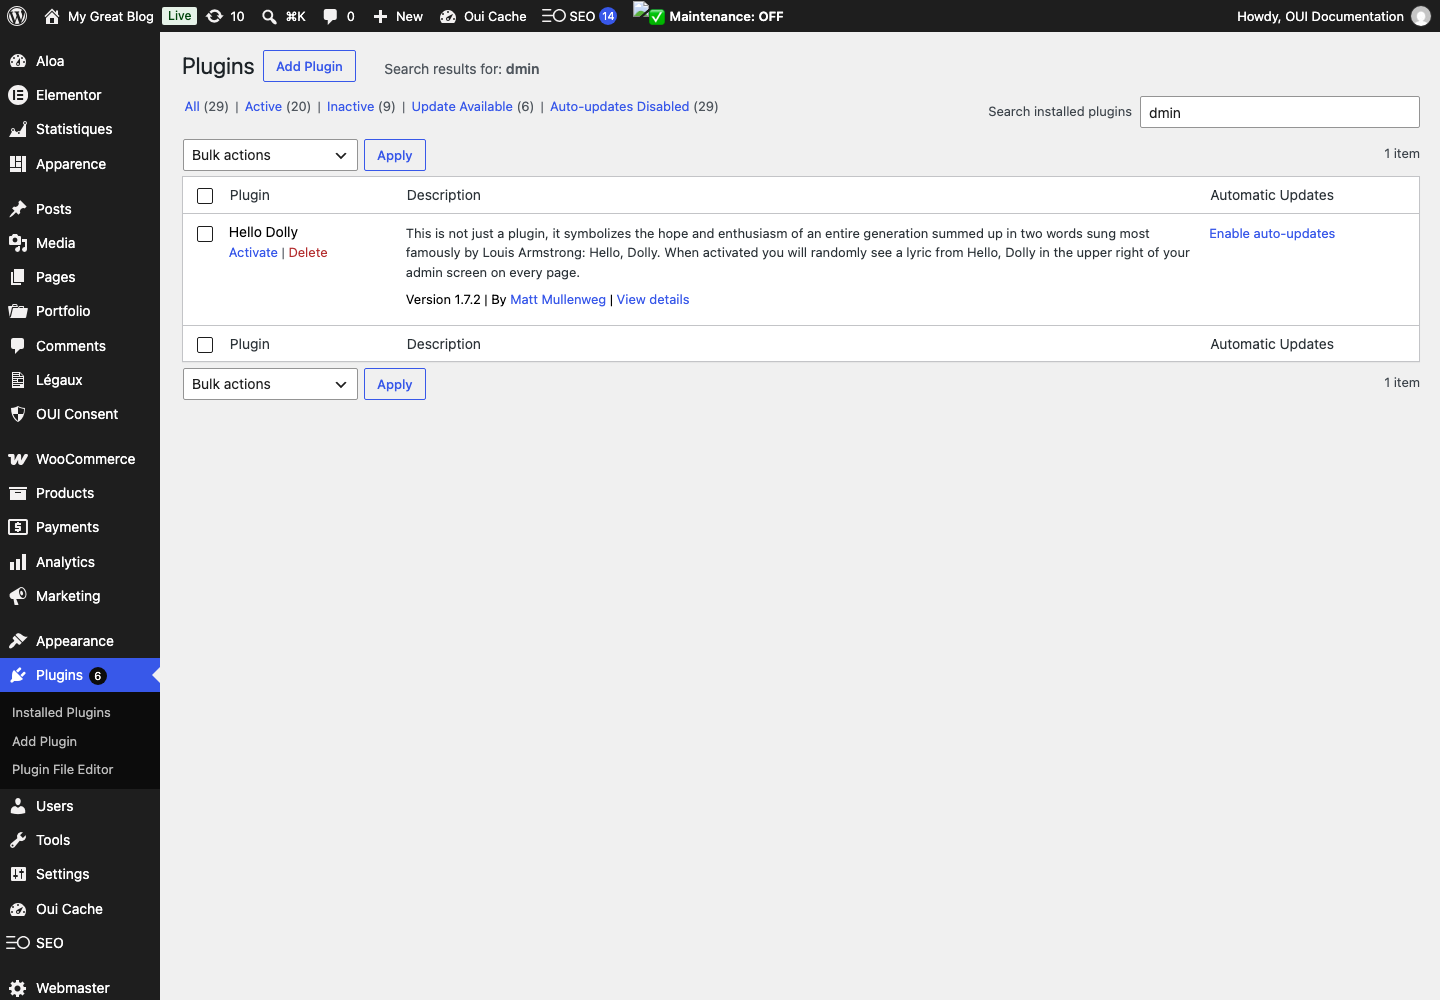
Screenshots
Troubleshooting
- The extension does not appear after installation
- Check the installer message and the component/plugin status, then clear Joomla or WordPress caches.
- An action is denied
- Review the user group permissions, session token and any security restrictions.
- The output does not match the site
- Test with caching disabled, inspect template overrides and look for CSS or JavaScript conflicts.
- An external integration fails
- Check the URL, credentials, quotas and logs without copying secrets into a support request.
Updating and uninstalling
Before updating, back up files and the database, read the release notes, and test on a copy of the site. Export useful data before uninstalling. Removing a package may remove several related components, modules or plugins.